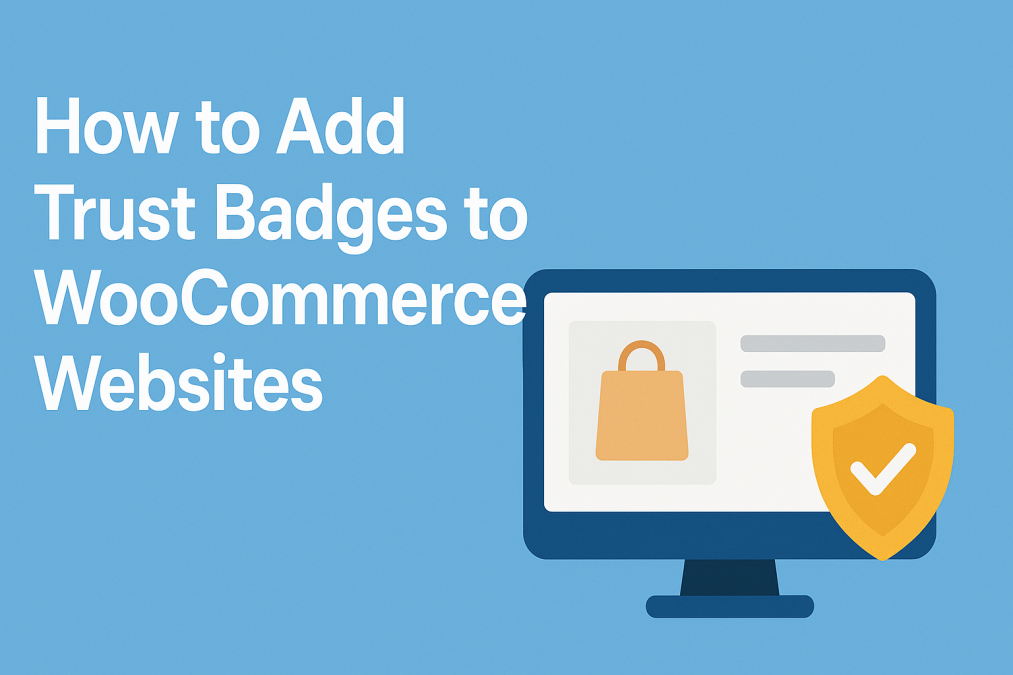
Establishing trust is no longer optional—it’s essential. As online shoppers become increasingly cautious about where and how they spend their money, one element has emerged as a silent but powerful persuader: trust badges. These small yet mighty graphics serve as a visual assurance that your store is secure, credible, and worthy of your customers’ confidence. If you’re operating an eCommerce business through WooCommerce, learning how to add trust badges to WooCommerce websites is a must, not just a nice-to-have.
Whether you’re trying to reduce cart abandonment or increase conversions, trust badges can make a measurable difference. This post explores how to add trust badges to WooCommerce websites, why they matter, and how to leverage them effectively to build customer confidence and boost sales. Let’s explore how to turn those hesitant browsers into loyal buyers.

What Are Trust Badges?
Trust badges are symbols or graphics displayed on e-commerce websites to reassure customers that the site is secure, reliable, and professional. These badges can reflect SSL security, accepted payment methods, money-back guarantees, free shipping, and more. They act as digital endorsements that can significantly influence purchasing behavior.
You’ve probably seen them—those logos at the bottom of product pages or near “Add to Cart” buttons that say things like “100% Secure Checkout” or “Verified by Visa.” These badges signal that your WooCommerce store values transparency and security. Understanding how to add trust badges to WooCommerce websites ensures you’re not only enhancing credibility but also addressing common shopper hesitations.
Why Are Trust Badges Important for Your WooCommerce Site?
Trust badges play a pivotal role in reducing the friction between consideration and conversion. According to Baymard Institute, nearly 70% of shopping carts are abandoned, and a major reason is trust issues during checkout. By learning how to add trust badges to WooCommerce websites, you’re giving your store a psychological edge.
Moreover, trust badges convey a professional image. Visitors to your WooCommerce site won’t need to guess whether your store is legitimate—they’ll see it. This is especially critical for new or lesser-known brands trying to gain traction. Adding badges builds instant rapport and credibility, ultimately influencing buyer decisions in your favor.
Types of Trust Badges You Can Use
Different trust badges cater to different aspects of buyer concerns. Knowing which ones to use can significantly improve their effectiveness. Here are the main categories:
1. Security Badges
These include SSL certificate seals, antivirus protection logos, and secure checkout indicators. When you add these to your WooCommerce site, you’re telling customers their data is safe. This is especially critical during checkout and on login pages.
2. Payment Badges
Icons from Visa, MasterCard, PayPal, Stripe, and others indicate that you support trustworthy, recognizable payment methods. This helps reduce friction at the point of transaction.
3. Guarantee Badges
Money-back guarantees, satisfaction assurances, and warranty indicators reassure buyers that they can trust your product and service. They also suggest a customer-centric approach, enhancing loyalty.
4. Shipping and Return Badges
Badges that highlight free shipping, easy returns, or fast delivery set the right expectations and reduce hesitation. They are especially useful on product and checkout pages.
5. Third-Party Endorsements
If your store is accredited by the BBB or uses platforms like Norton or McAfee for security, display those logos. These third-party validations are extremely persuasive.
Knowing how to add trust badges to WooCommerce websites allows you to strategically place these badges for maximum impact.
Where to Place Trust Badges for Maximum Impact
Placement matters just as much as the type of badge you choose. Trust badges should be visible but not intrusive. Their goal is to ensure that they do not disrupt the user journey.
Homepage & Footer
Placing a few badges in the footer, such as payment methods and security certifications, is a common and non-intrusive strategy. The homepage may also feature badges related to warranties, shipping, or store policies.
Product Pages
These are excellent locations for shipping, returns, and guarantee badges. Shoppers often decide whether or not to purchase based on the information displayed here.
Checkout Page
The checkout page is arguably the most crucial spot. Display SSL certificates, payment badges, and any security assurances to prevent last-minute cart abandonment. Knowing how to add trust badges to WooCommerce websites can directly influence this conversion-critical moment.
How to Add Trust Badges to WooCommerce Websites (Step-by-Step Guide)
There are multiple ways to add trust badges to your WooCommerce store—each with varying levels of customization and control. Here’s how to go about it.
Option 1: Use a Plugin
For beginners and intermediate users, plugins offer a user-friendly option. Popular choices include:
- Trust Badges for WooCommerce
- YITH WooCommerce Badge Management
- Ultimate Trust Badges
Install the plugin via your WordPress dashboard, activate it, and configure the badge types and placement. Most plugins let you upload custom badges or choose from a preset list.
Option 2: Add Them Manually
For more control, you can add trust badges manually using custom code or by editing your theme’s files.
- Upload your badge image to the media library.
- Navigate to Appearance > Widgets or directly edit the PHP template.
- Insert image HTML or shortcode in the desired location (footer, product page, etc.).
This method is more flexible and doesn’t add extra weight to your site, but it requires some basic HTML knowledge.
Option 3: Use Your Page Builder
If you’re using Elementor, WPBakery, or any other page builder, simply drag and drop an image widget where you want your badge to appear. Upload the badge, adjust sizing, and you’re set.
Learning how to add trust badges to WooCommerce websites using different methods empowers you to tailor the experience according to your site’s design and performance goals.
Creative Tips for Using Trust Badges Effectively
Adding trust badges is only half the battle. To ensure they work, you must use them creatively and thoughtfully. Avoid clutter—less is often more. Choose badges that align with your brand and reinforce your value propositions.
Try incorporating them into product images or bundling them with testimonials. For example, a photo of a happy customer next to a “30-Day Money-Back Guarantee” badge is far more persuasive than either alone.
Moreover, experiment with A/B testing. Place different types of badges in varied positions and monitor which versions result in better conversions. Learning how to add trust badges to WooCommerce websites is not just about implementation—it’s about iteration and optimization.
Mistakes to Avoid When Using Trust Badges
While trust badges can be powerful, using them incorrectly can have the opposite effect. One major mistake is overuse. If your site is plastered with logos, it might appear desperate or even suspicious.
Another common error is using low-resolution or outdated badges. This sends the wrong message about your professionalism. Always use high-quality, up-to-date badges, especially for security certifications.
Also, don’t place unrelated badges just for visual flair. Only display badges that reflect actual store policies or systems. Misleading your customers is not just unethical—it’s counterproductive.
By avoiding these pitfalls, your knowledge of how to add trust badges to WooCommerce websites will translate into tangible results.
Real-World Success: How Stores Boosted Conversions With Trust Badges
Consider the case of a small WooCommerce jewelry store that was struggling with abandoned carts. By strategically placing trust badges—like “Secure Checkout” and “Free Returns”—on product and checkout pages, they saw a 22% increase in completed transactions within two months.
Another example is a fitness supplement brand that added payment and money-back guarantee badges. Through smart A/B testing and placement, their trust score on Trustpilot improved, and so did their average order value by 18%.
These case studies underline why mastering how to add trust badges to WooCommerce websites is more than a technical task—it’s a business growth strategy.

Wrapping Up: Let Trust Seal the Sale
In the highly competitive world of e-commerce, trust is currency. Mastering how to add trust badges to WooCommerce websites allows you to turn browsers into buyers and build lasting customer relationships. Whether you’re adding badges through plugins, custom code, or page builders, the goal remains the same: reinforce your credibility and create a seamless, reassuring shopping experience.
Don’t let doubts cost you conversions. Use trust badges wisely, test their effectiveness, and let them do the talking. In eCommerce, trust isn’t given—it’s earned, and with the right badges, you’re well on your way to earning it.
Interesting Reads:
How to Create Buy X, Get Y Offers in WooCommerce In 2025
How to Offer a Free Gift with Purchase in WooCommerce In 2025