
Every successful online store understands that not every visitor is ready to purchase right away. Many shoppers love to browse, compare, and contemplate before adding items to their cart. The key to converting these thoughtful browsers into buyers? A wishlist feature. When you learn how to add a wishlist in WooCommerce, you’re not just installing a plugin—you’re enhancing user experience, increasing engagement, and encouraging repeat visits.
A wishlist is more than a luxury—it’s a necessity for modern eCommerce. WooCommerce is a powerful platform, but without the right features in place, it can leave gaps in user satisfaction. By integrating a wishlist, you equip your store with a tool that builds loyalty and drives conversions. This blog post will explore what a wishlist means for your store, why it’s essential, and how to implement it with finesse.

What Is a Wishlist in WooCommerce?
A wishlist is a personalized collection of products that customers can save for future reference. It acts like a digital reminder board, giving users the option to store products they’re interested in without needing to purchase them right away. It’s a feature that resonates with window-shoppers, gift-givers, and deal-seekers alike.
When you explore how to add a wishlist in WooCommerce, you’re essentially offering your users the ability to plan their shopping. Whether it’s for a birthday, a holiday, or a personal milestone, wishlists help users curate their desires while staying connected to your brand. Think of it as the “add to cart” feature’s thoughtful cousin—patient and persistent.
Why Adding a Wishlist in WooCommerce Is a Game-Changer
Adding a wishlist might seem like a minor detail in the vast ecosystem of WooCommerce features. However, it holds tremendous psychological and strategic value. When shoppers save items they love, they’re expressing intent—even if they’re not ready to purchase today. That intent, when captured and nurtured correctly, often turns into a sale.
Moreover, wishlists create a gateway to deeper engagement. They allow for targeted email marketing campaigns, back-in-stock alerts, and promotional offers tailored to user interests. Knowing how to add a wishlist in WooCommerce unlocks these benefits. It’s not just about offering convenience; it’s about enabling smarter, data-driven selling.
The Psychology Behind Wishlists
The wishlist taps into a powerful psychological trigger: anticipation. Shoppers enjoy the process of collecting items, visualizing their future purchases, and revisiting their lists. This emotional investment increases the likelihood of eventual conversion. Studies show that users with active wishlists are more likely to return and complete a purchase.
Another compelling aspect is personalization. By enabling users to create their collections, you empower them to take ownership of their shopping experience. When customers feel that sense of control and personalization, brand loyalty often follows. So, learning how to add a wishlist in WooCommerce can lead to a significant uplift in customer satisfaction and retention.
How to Add a Wishlist in WooCommerce: Step-by-Step Guide
Adding a wishlist in WooCommerce doesn’t require advanced coding or a developer. Thanks to an active plugin ecosystem, the process is streamlined and user-friendly. Here’s how to get started.
Step 1: Choose the Right Wishlist Plugin
First, navigate to your WordPress dashboard and head over to Plugins > Add New. Search for popular wishlist plugins like WooCommerce Wishlists Plugin, YITH WooCommerce Wishlist. Each offers distinct features, so compare them based on your needs, such as social sharing, product variation support, or email integrations.
After selecting a plugin, install and activate it. This initial step is crucial in learning how to add a wishlist in WooCommerce without touching a single line of code.
Step 2: Configure Wishlist Settings
Once activated, most plugins will create a dedicated wishlist page automatically. You can customize the appearance, button placement, and privacy settings via the plugin’s configuration menu. Decide whether the wishlist is available to guests or only to registered users. Customize the “Add to Wishlist” button text and location to blend seamlessly with your store’s design.
Make sure to test the wishlist feature as a user. Add a few products, view your wishlist, and try removing items. Smooth user experience is non-negotiable. Remember, the smoother the process, the higher the engagement.
Best Plugins to Add a Wishlist in WooCommerce: Detailed Comparison and How-to Guide
When you’re exploring how to add a wishlist in WooCommerce, the first major decision you’ll face is which plugin to use. Thankfully, the WooCommerce ecosystem offers powerful tools designed to make wishlist functionality seamless, user-friendly, and scalable. Two of the most popular and trusted options are the YITH WooCommerce Wishlist and the official WooCommerce Wishlists plugin.
Each of these plugins comes with its own set of advantages. Your choice will depend on your store’s size, goals, and the level of customization or integration you require. Below, we’ll break down both plugins and walk you through how to implement them efficiently.
1. YITH WooCommerce Wishlist: The Popular, Flexible Choice
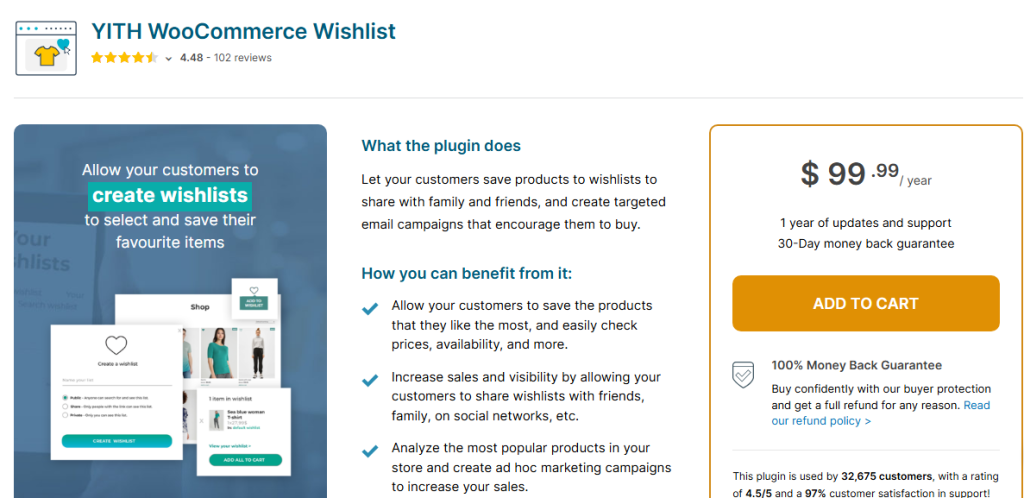
The YITH WooCommerce Wishlist plugin is one of the most downloaded wishlist tools on the WordPress repository. Known for its flexibility and feature-rich platform, YITH is an ideal solution for businesses of all sizes—from startup stores to large-scale marketplaces.
Top Features of YITH WooCommerce Wishlist:
- Free and Premium Options: Start with the free version and upgrade as your store grows.
- Multiple Wishlist Support (Premium): Customers can organize products into several themed wishlists.
- Guest Wishlists: Shoppers don’t need an account to create a wishlist.
- Social Sharing: Wishlists can be shared via Facebook, Twitter, Pinterest, WhatsApp, or email.
- Analytics & Admin Insights: Track popular wishlist products for smarter marketing.
- Email Promotions (Premium): Send customized offers to users based on their wishlist items.
- Shortcode Support: Embed wishlist functions anywhere on your site for design flexibility.
How to Use YITH WooCommerce Wishlist:
- Step 1: Go to Plugins > Add New, search for “YITH WooCommerce Wishlist”, and install/activate it.
- Step 2: Navigate to YITH > Wishlist to configure settings such as button text, visibility, and style.
- Step 3: Customize the wishlist page, or use the auto-generated one with available shortcodes.
- Step 4 (Premium): Set up promotional emails and wishlist privacy features.
- Step 5: Track which products are most added to wishlists using the admin panel for strategic planning.
Why Choose It?
YITH is ideal if you want a flexible wishlist with social sharing, advanced marketing options, and both free and premium paths to grow into. It also integrates well with most modern themes and WooCommerce extensions.
2. WooCommerce Wishlists Plugin: The Official Powerhouse
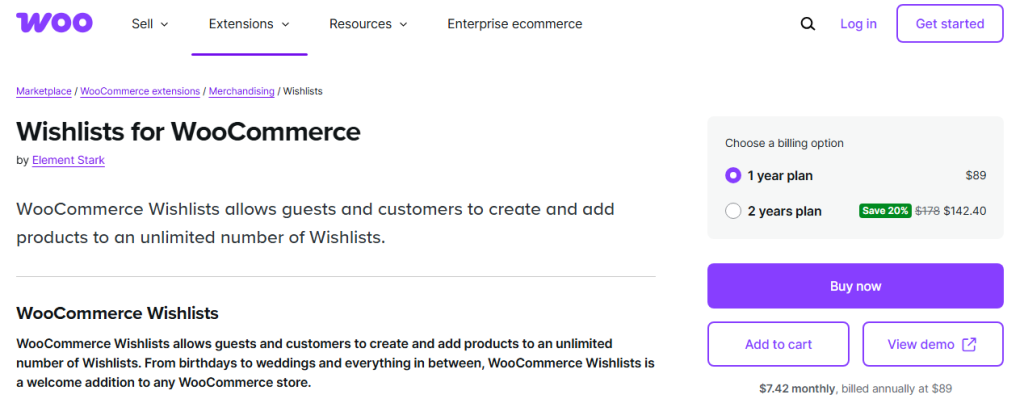
The WooCommerce Wishlists plugin is developed and supported by the creators of WooCommerce. As the official solution, it offers tight integration with the WooCommerce core, exceptional reliability, and developer-grade features. It’s a premium-only plugin, but well worth the investment for serious store owners.
Key Features of WooCommerce Wishlists:
- Multiple Wishlists per User: Users can create categorized wishlists (e.g., Birthday, Summer Sale, etc.).
- Guest Support: Guests can create wishlists stored via browser cookies.
- Full Product Support: Works with simple, variable, and grouped products.
- Advanced Sharing Options: Share via email or social media.
- Storefront Integration: Buttons are added to product pages and shop listings automatically.
- Admin Tools: View most-wished-for products and adjust inventory/marketing accordingly.
- Privacy Settings: Users can choose between private, shared, and public lists.
How to Use the Official WooCommerce Wishlists Plugin:
- Step 1: Purchase the plugin from the official WooCommerce marketplace.
- Step 2: Upload and activate it via Plugins > Add New > Upload Plugin.
- Step 3: Go to WooCommerce > Settings > Products > Wishlists to configure behavior and layout.
- Step 4: Customize how and where the Add to Wishlist buttons appear.
- Step 5: Users can create and manage wishlists from their account dashboard, while store admins get visibility into high-demand products.
Why Choose It?
Choose the official WooCommerce Wishlists plugin if you’re looking for top-tier stability, full compatibility with WooCommerce themes and extensions, and in-depth product insights. It’s perfect for businesses that prioritize performance, security, and data-driven strategy.
Ways to Maximize Wishlist Effectiveness
Knowing how to add a wishlist in WooCommerce is only the first step. The real magic happens when you strategically use it to enhance your marketing and customer engagement.
Encourage Account Creation
Prompting users to create accounts to save wishlists can benefit your business significantly. Not only does this help build your email list, but it also enables personalized marketing. You can track user preferences, follow up with reminders, or send out limited-time offers based on wishlist items.
Use Wishlists for Targeted Campaigns
Imagine sending an email that says, “The item in your wishlist is 20% off—grab it before it’s gone!” That’s the power of segmentation. When you know how to add a wishlist in WooCommerce and integrate it with your CRM or email marketing tool, you unlock a goldmine of targeted conversion opportunities.
Common Mistakes to Avoid When Adding a Wishlist
Even though plugins make it easy to add wishlists, some store owners stumble by treating it as an afterthought. Here are a few pitfalls to avoid:
Poor Placement of the Wishlist Button
If customers can’t find the wishlist button easily, they won’t use it. Make sure the “Add to Wishlist” button is clearly visible on product pages, preferably near the “Add to Cart” button. Subtlety isn’t your friend here.
Not Optimizing for Mobile
Mobile shoppers make up a significant portion of traffic. If your wishlist isn’t mobile-responsive, you risk losing potential conversions. Test every wishlist interaction across different devices and screen sizes.
Taking It a Step Further: Social & Shareable Wishlists
A unique feature offered by many plugins is social sharing. Allowing users to share their wishlists on Facebook, Twitter, or via email can dramatically extend your store’s reach. It’s especially useful during the holiday season, when gift-giving and recommendations run rampant.
You can even gamify the experience. Offer users small discounts or loyalty points for sharing their wishlists. When you understand how to add a wishlist in WooCommerce and use it creatively, it becomes a powerful word-of-mouth marketing tool.
Analytics and Insights: Wishlist Data as a Strategic Asset
Wishlists provide valuable data about customer preferences. The most added items to wishlists can indicate which products are popular but maybe slightly overpriced or under-marketed. This information can shape your sales, promotions, and product strategy.
Use Google Analytics or built-in plugin tools to study user behavior around wishlists. These insights, often overlooked, can drive smarter decision-making and boost your bottom line.

Closing Remarks: Create a Path Back to Your Store
By now, you understand how to add a wishlist in WooCommerce is not just a technical step—it’s a strategic advantage. Wishlists turn fleeting interest into lasting engagement. They empower customers to return to your store with purpose, not just curiosity.
Whether you’re a small business or a growing e-commerce brand, implementing and optimizing a wishlist can significantly enhance your customer experience. So don’t wait. Start giving your shoppers what they want—even if they’re not ready to buy it just yet.
Interesting Reads:
How to Add a Buy Now Button in WooCommerce In 2025
How to Add Recently Viewed Products in WooCommerce In 2025
How to Create a Buy One, Get One Free Offer in WooCommerce In 2025