Steps to Creating a Customer Journey Map


When I first sat down to create my own customer journey map, I’ll admit it looked more like a messy spider web than a map. I had sticky notes everywhere, arrows connecting in all directions, and about twelve “aha!” moments that led me back to square one. But as I refined my process, I realized something important: creating a customer journey map isn’t just a data exercise, it’s an act of empathy. It’s about stepping into your customer’s shoes, feeling what they feel, and designing an experience that makes them say, “They really get me.” Over the years, I’ve found a structured approach that balances research with storytelling. Here’s how I now create a customer journey map that actually works, one that doesn’t just sit in a strategy document but transforms how you think about your audience.
Why I Stopped Treating This as a One-Person Job
My earliest journey maps were built entirely solo, late nights with sticky notes and a lot of guessing about what I assumed the sales and support teams already knew. Looking back, that was the biggest structural mistake in my process, not a technique problem. Support agents know exactly where customers get confused because they field those exact questions daily. Sales knows which objections come up right before a decision. Marketing knows which channels actually drive qualified traffic versus which ones just generate noise. A map built without pulling from all three perspectives is, at best, one-third complete.
Now I treat the first draft as a collaborative working session rather than something I hand over once it’s finished. It takes more coordination upfront, but the resulting map reflects reality instead of my own narrow view of the business.
1. Define Your Purpose
Before you even open a whiteboard or template, ask yourself: “Why am I creating this map?” There’s no one-size-fits-all answer. Maybe you want to:
- Identify friction points in your website flow.
- Improve post-purchase engagement.
- Align your marketing, sales, and support teams.
- Launch a new product and understand potential user behavior.
For me, I always start with a clear intent statement, such as: “I want to understand how new customers discover my brand and what obstacles stop them from signing up.” Once that purpose is defined, every decision from data collection to action steps stays focused.
You can connect this clarity with what we discussed in Understanding the Customer Journey Map, where we explored how journey maps are built around user perspective, not company perspective.
2. Identify Your Target Customer (Persona)
The second step is knowing who you’re mapping for. Without that, your journey map will be too generic to inspire real change. I usually create two to three personas based on actual data, not assumptions. Each persona represents a type of customer with distinct goals, frustrations, and motivations.
Here’s a quick breakdown of what I include in each persona:
- Demographics: Age, location, profession (just enough to add context).
- Goals: What they’re trying to achieve with your product.
- Challenges: What’s holding them back or frustrating them.
- Emotional Drivers: What fears, hopes, or values influence their decisions.
For example, here’s a hypothetical persona I might build when mapping for a learning platform: “Priya, a 28-year-old marketing manager who wants to learn AI tools to stay ahead in her career but struggles to find time and affordable options.”
Having Priya in mind helps design experiences that speak directly to her, from awareness to retention.
If you want to see how emotions and motivations play a role throughout the journey, revisit Customer Journey Map vs Buyer Journey Map.
3. Map Out the Stages of the Journey
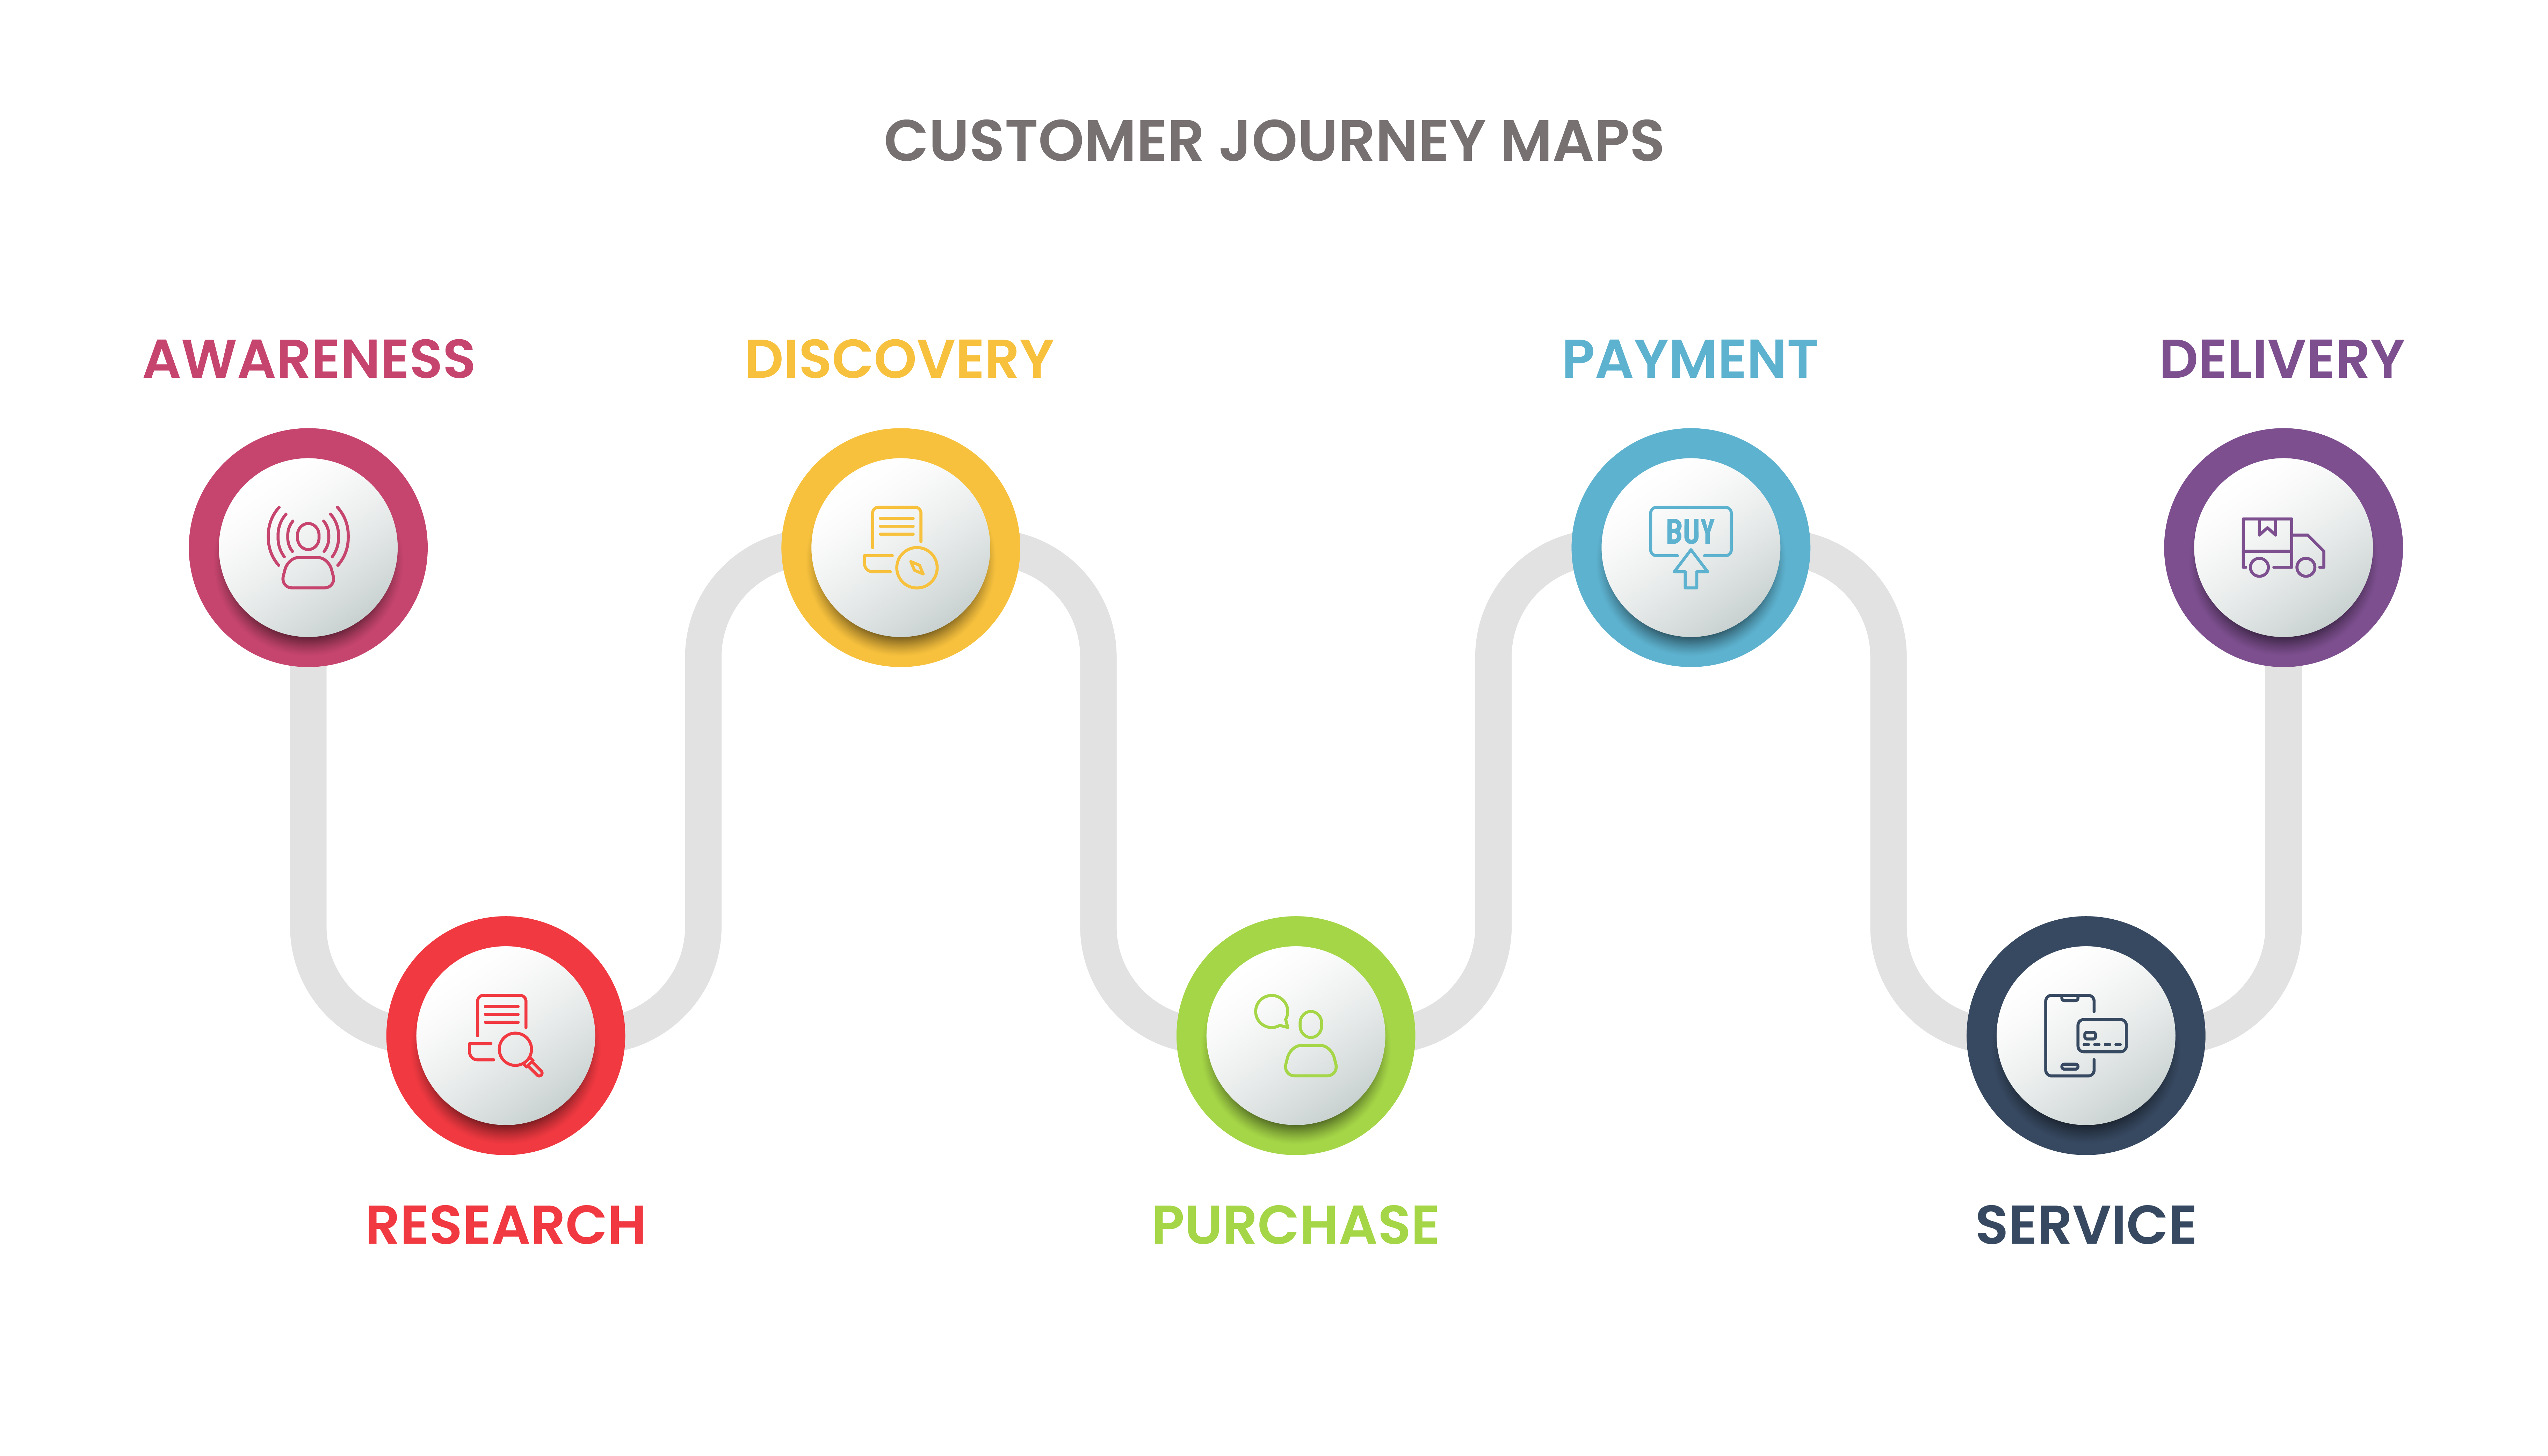
Now comes the backbone of your map, the stages your customer goes through. While these vary by business, I usually work with five key stages:
- Awareness: The moment your customer realizes a need or problem.
- Consideration: They start exploring solutions, including your brand.
- Decision: They compare options and make a choice.
- Retention: They experience your product or service post-purchase.
- Advocacy: They become loyal supporters and recommend your brand.
What I love about these stages is that they remind me that every stage is a chance to strengthen trust. For instance:
- In Awareness, I focus on storytelling content and helpful blogs.
- In Retention, I design email sequences that feel personal, not robotic.
Each touchpoint either builds or breaks connection. To see how this concept has changed over time, check out The Evolution of the Customer Journey Map.
4. List All Touchpoints
This step is where most people get overwhelmed, but it’s also the most eye-opening. A touchpoint is any interaction a customer has with your brand. Some are direct, like your website or emails, while others are indirect, like social media mentions or word-of-mouth.
Here’s how I usually list them:
- Pre-purchase: Blog articles, ads, social posts, influencer mentions.
- During purchase: Checkout flow, payment experience, confirmation emails.
- Post-purchase: Onboarding guides, customer support chats, follow-up surveys.
When you visualize these touchpoints, patterns emerge. Maybe your customers love your content but drop off during sign-up, or they enjoy your product but never receive post-purchase communication. Those small gaps are where the biggest opportunities lie.
You can cross-link this with Components of a Customer Journey Map for a breakdown of how each touchpoint connects to emotions and outcomes.
5. Capture Customer Emotions
This is my favorite part because emotions are what make data human. At each stage and touchpoint, I note how customers feel and why. Frustration, excitement, confusion, relief, they all matter.
Here’s an example:
- Awareness: Curious, unsure
- Consideration: Hopeful, slightly overwhelmed
- Decision: Confident but cautious
- Retention: Satisfied or disappointed
- Advocacy: Proud, loyal
When you map emotions visually (I often use mood lines or emojis), it becomes instantly clear where people struggle and where they smile.
6. Identify Pain Points and Gaps
Every great journey map is part detective work. Once you’ve mapped emotions and touchpoints, start asking:
- Where do users drop off?
- Where do they seem frustrated?
- Where does communication stop?
These pain points highlight where your experience is breaking down. For example, if customers feel confused during checkout, you don’t need a new ad campaign, you need a better UX flow.
I often link these insights to Benefits of Customer Journey Mapping because fixing these gaps usually leads to higher satisfaction and conversions.
7. Align Internal Teams
Here’s a step many people skip, bringing everyone together. A journey map is only as powerful as its adoption across your teams. Once I finish mine, I walk through it with marketing, sales, product, and support teams.
We talk through:
- Which touchpoints each team owns.
- How we can improve transitions between teams.
- What KPIs we’ll use to measure success at each stage.
This step transforms the journey map from a document into a shared vision. When everyone sees where they fit in the customer experience, collaboration becomes natural and consistency follows.
8. Visualize and Validate
Now it’s time to bring everything to life. I use visual tools like Miro, Figma, or even simple Excel sheets to create the map. Each stage, persona, emotion, and touchpoint gets plotted visually so patterns are easy to see.
Once it’s mapped, I always validate it with real users through interviews, analytics, or surveys. It’s surprising how often assumptions differ from reality. If your customers’ stories don’t align with your map, go back and refine, that’s how real insight happens.
9. Update and Optimize
Customer journeys are not static. They evolve as trends, technology, and behaviors shift. I revisit my maps every quarter to see what’s changed:
- Has a new social platform emerged as a touchpoint?
- Are customers discovering us through AI search instead of Google?
- Are there new post-purchase needs we can fulfill?
Treat your map as a living document, not a final product. That mindset keeps your brand adaptive, empathetic, and ahead of the curve.
10. Assign Ownership for Each Stage
Something I added to my process after a few maps gathered dust: every stage needs an owner, a specific person or team accountable for acting on what the map reveals, not just admiring it. Without ownership, even the most beautifully visualized map becomes a one-time workshop exercise instead of a living operational tool.
I usually assign the Awareness and Consideration stages to marketing, Decision to sales or the conversion team, and Retention and Advocacy to support and customer success. Each owner gets a short list of the specific pain points relevant to their stage, along with a rough timeline for addressing at least one of them per quarter. That accountability is what actually separates a journey map that changes the business from one that just looks good in a slide deck.
11. Build a Lightweight Version First
One mistake I made early on was trying to build the perfect, fully detailed map on the first attempt. It took weeks, involved too many stakeholders too early, and lost momentum before it ever shipped. Now I build a lightweight version first, five stages, rough touchpoints, gut-level emotions, done in an afternoon, and use that as a working draft.
The lightweight version gets circulated for feedback immediately. Nine times out of ten, the rough draft surfaces the same major insights the polished version eventually would, just faster and with less sunk cost if the initial direction turns out to be wrong.
How Long the Process Should Actually Take
People are often surprised when I tell them a solid first-draft journey map, from defining purpose through mapping emotions, can realistically be built in a week if you’re disciplined about scope. What takes longer is the validation step, scheduling and conducting real customer interviews usually stretches the full process to three or four weeks. I’ve learned not to rush that part. A map built entirely from internal assumptions, however well-intentioned, tends to reflect what the team believes about customers rather than what customers actually experience, and those two things diverge more often than most teams expect.
For ongoing maintenance, a quarterly thirty-minute review with each stage owner is usually enough to keep the map current without turning it into a standing project that eats real time every week.
Common Pitfalls Worth Naming
Mapping the Journey You Wish Customers Took
It’s tempting to map the ideal, linear path rather than the messy, real one. Real customers bounce between channels, abandon carts, and come back weeks later through a completely different door. A map built on wishful thinking won’t reveal anything useful.
Treating the Map as a One-Time Deliverable
A journey map presented once in a meeting and then filed away stops being useful the moment customer behavior shifts, which, in most industries, happens faster than people expect.
Skipping Validation With Real Customers
It’s easy to build a map entirely from internal assumptions and never check it against actual customer interviews or support transcripts. The gap between what a team assumes and what customers actually experience is usually bigger than anyone expects going in.
Making It Too Complicated to Actually Use
I’ve seen journey maps so dense with data, arrows, and annotations that nobody on the team could explain them in under ten minutes. A map that requires a training session to interpret defeats its own purpose. If a new hire can’t glance at it and understand the customer’s basic path within a few minutes, it needs simplifying, not more detail.
Forgetting to Map the Emotional Low Points Honestly
Teams sometimes soften the negative emotions in a journey map because nobody wants to present bad news. But the moments of genuine frustration are exactly where the most valuable fixes live. A map that only shows mild, manageable friction isn’t protecting anyone, it’s just hiding the opportunities that would move the needle most.
Choosing the Right Tools for Your Team
I get asked constantly which tool is “the right one” for building a journey map, and the honest answer is that the tool matters far less than the process. That said, a few practical distinctions help.
Miro and Figma work well for teams that want a highly visual, collaborative map that multiple people can edit in real time, especially useful when marketing, product, and support are all contributing simultaneously. A simple spreadsheet or table works surprisingly well for a first draft, especially when the goal is capturing raw data before anyone worries about how it looks. I’ve found that teams new to journey mapping often overinvest in tool selection and underinvest in the actual customer research the map is supposed to represent. Pick something your team will actually update, a beautifully designed map nobody revisits is worth less than an ugly spreadsheet someone checks every month.
How Journey Maps Differ Across Industries
The core process stays the same, but the specific touchpoints and emotional stakes shift meaningfully depending on what you’re mapping. A SaaS company’s journey often hinges heavily on the onboarding window, the first week after signup, where a confusing setup process can undo months of marketing work in days. A retail or e-commerce journey often has more pre-purchase touchpoints, reviews, comparison shopping, cart abandonment, but a shorter emotional arc once the purchase happens. Service-based businesses, consulting, agencies, healthcare, tend to have the longest post-purchase stage, since the actual delivery of value happens over weeks or months rather than at the moment of checkout.
Recognizing which pattern your business fits helps you decide where to spend your limited mapping time. A SaaS company probably gets more value from an unusually detailed onboarding-stage map than from an equally detailed advocacy-stage map, at least initially.
Turning Insights Into a Roadmap, Not Just a Report
A finished journey map, even a well-validated one, doesn’t automatically improve anything on its own. The step that actually moves metrics is converting the map’s insights into a prioritized roadmap. I usually rank identified pain points by two factors: how much friction they cause relative to how many customers they affect, and how expensive they’d be to fix. That combination surfaces the handful of “quick wins,” high impact, low effort, that deserve attention first, rather than getting lost trying to fix everything the map reveals at once.
A journey map with fifteen identified problems and zero prioritization tends to produce paralysis. A journey map with the same fifteen problems, ranked and assigned, tends to produce visible progress within a single quarter.
My Takeaway
When I first began mapping customer journeys, I thought it was a strategy exercise. It took several attempts, and a few maps that quietly gathered dust, before that assumption changed. Now, I see it as a relationship exercise. Each map is a mirror showing how well we truly understand the people we serve. And the better we understand them, the better we can design experiences that make them stay, not just buy. That shift in mindset, from viewing the map as a deliverable to viewing it as an ongoing conversation with your audience, is what separates the maps that actually change a business from the ones that just look impressive in a meeting.
Next, we’ll explore Benefits of Customer Journey Mapping, where I’ll show you how all this effort translates into real growth, loyalty, and smarter decisions.
If there’s one habit I’d want anyone reading this to walk away with, it’s this: build the map to be used, not admired. Every decision along the way, how detailed to make it, which tool to build it in, how often to revisit it, should get weighed against a single question: will this version actually change what the team does next week? A map that passes that test, even an imperfect one, beats a polished map that ends up as a screenshot nobody opens again.
Interesting read